Wednesday, March 6, 2013
Simple Auto-Brewer in 1.5
Hello, I'm N8thanH, and welcome back to Across the Map!
Today, I have built an automatic brewing machine with the hopper blocks introduced in the snapshots of Minecraft 1.5.
Here's how to use it.

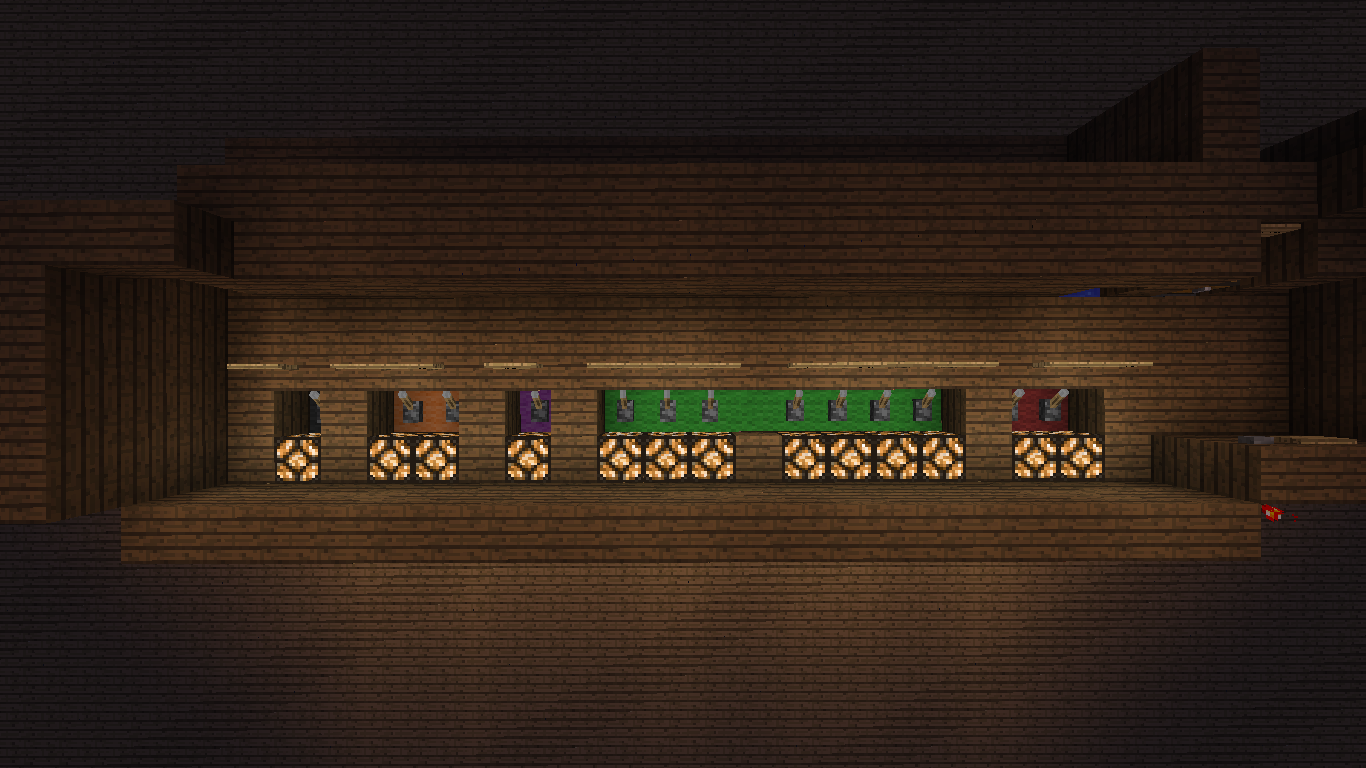
Here we have a room with lots of switches. When this machine dispenses the ingredients, it will do it in order of: red, green, purple, orange, grey. Keep that in mind.

So, let's say that you accidentally hurt your pet cat again, and need some potions of healing. Let's solve that.

Let's look at the available ingredients. Again, keep in mind the order of the colors when dispensing.
Ingredient 1 and 2 choices.
 More of the ingredient 2 choices.

Ingredients 3 through 5.

So, I pulled the levers for the necessary ingredients:
1. Nether wart, the usual base.
2. Glistering Melon, for the instant health effect.
3. None, because I didn't want a fermented spider eye.
4. Glowstone dust, for a stronger effect.
5. Gunpowder, so I can throw it at my pet cat, Atom. (Yeah, probably need a better name. :p )
Next, let's load this thing with some bottles! We just need to put the water bottles in here. That little water hole is just meant for filling your water bottles.

Anyway, now that we've loaded this device, all we have to do next is push this button. This will add the ingredients, and start the brewing.

Now that everything is cooking, let's head downstairs to see what's up. This ladder will take us there.

At the bottom, we have this room. Here, we can eject the potion batch, if we want to, or just check on the progress.

Do you remember that order of dispensing? In the hopper above the brewing stand, we can see our ingredients, in that order. Just note that in this screenshot, the Nether wart is in the stand, being brewed into the bottles.

So, that is all I have to show right now. So, let's do a time-skip to when the potions are done!
Whoosh! Our potions are done!!! As you can see in this screenshot, we have our splash potions of instant healing level 2 right here. Just what the doctor ordered! Wait. I'm making potions to heal a cat! That's kinda funny. Honestly. No joke intended. :D

Moving on, let's go heal Atom, and take a look at some of the redstone.
Here you go buddy! Sorry I hit you.

Anyway, here's the redstone that triggers the droppers. If you can see where the repeaters point into the wall (which connect to the droppers), just note that the droppers dispense the ingrdients into a water flow, which then pushes the items into the hopper that holds the ingredients.

And you see those redstone torches attached to wool? Those wool blocks happen to be the same ones that are part of the ingredient selection panel. By deactivating the levers, you enable the corresponding torch to turn on and trigger the droppers when that wire to the far right turns on, and that wire is connected to the "dispense ingredients" button. So, that's about it for the majority of the redstone here!
Well, that's it for today! If you guys want a tutorial on how to build one, just tell me in the comments.
As always, please give feedback, and thanks for stopping by my blog!
See you all next post. Until then!
Today, I have built an automatic brewing machine with the hopper blocks introduced in the snapshots of Minecraft 1.5.
Here's how to use it.

Here we have a room with lots of switches. When this machine dispenses the ingredients, it will do it in order of: red, green, purple, orange, grey. Keep that in mind.
So, let's say that you accidentally hurt your pet cat again, and need some potions of healing. Let's solve that.

Let's look at the available ingredients. Again, keep in mind the order of the colors when dispensing.
Ingredient 1 and 2 choices.

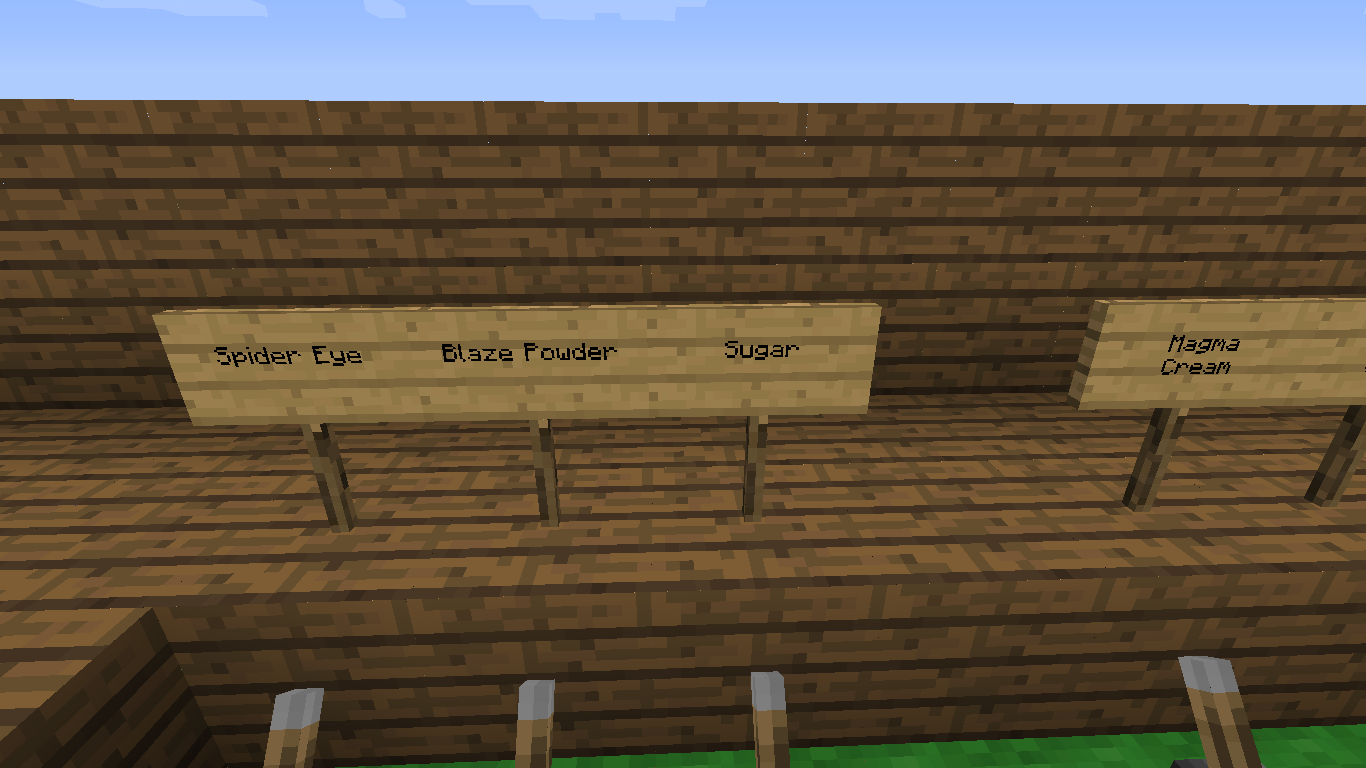
Ingredients 3 through 5.

So, I pulled the levers for the necessary ingredients:
1. Nether wart, the usual base.
2. Glistering Melon, for the instant health effect.
3. None, because I didn't want a fermented spider eye.
4. Glowstone dust, for a stronger effect.
5. Gunpowder, so I can throw it at my pet cat, Atom. (Yeah, probably need a better name. :p )
Next, let's load this thing with some bottles! We just need to put the water bottles in here. That little water hole is just meant for filling your water bottles.

Anyway, now that we've loaded this device, all we have to do next is push this button. This will add the ingredients, and start the brewing.

Now that everything is cooking, let's head downstairs to see what's up. This ladder will take us there.

At the bottom, we have this room. Here, we can eject the potion batch, if we want to, or just check on the progress.

Do you remember that order of dispensing? In the hopper above the brewing stand, we can see our ingredients, in that order. Just note that in this screenshot, the Nether wart is in the stand, being brewed into the bottles.

So, that is all I have to show right now. So, let's do a time-skip to when the potions are done!
Whoosh! Our potions are done!!! As you can see in this screenshot, we have our splash potions of instant healing level 2 right here. Just what the doctor ordered! Wait. I'm making potions to heal a cat! That's kinda funny. Honestly. No joke intended. :D

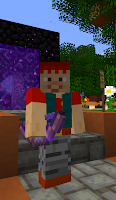
Moving on, let's go heal Atom, and take a look at some of the redstone.
Here you go buddy! Sorry I hit you.

Anyway, here's the redstone that triggers the droppers. If you can see where the repeaters point into the wall (which connect to the droppers), just note that the droppers dispense the ingrdients into a water flow, which then pushes the items into the hopper that holds the ingredients.

And you see those redstone torches attached to wool? Those wool blocks happen to be the same ones that are part of the ingredient selection panel. By deactivating the levers, you enable the corresponding torch to turn on and trigger the droppers when that wire to the far right turns on, and that wire is connected to the "dispense ingredients" button. So, that's about it for the majority of the redstone here!
Well, that's it for today! If you guys want a tutorial on how to build one, just tell me in the comments.
As always, please give feedback, and thanks for stopping by my blog!
See you all next post. Until then!
Subscribe to:
Post Comments (Atom)
\8D/
My ever-changing Minecraft skin...
Fire_Cat2000's Blogs
-
Brown Paper Bag Owl Craft - Fire_Cat Here!! And welcome back to another post. Today we will be making... This Cutie!!! This Brown Paperbag Owl craft is easy to make and fun. Let's ...

-
More Food "Monday" # 3 - Pancakes - Fire_Cat Here! And welcome back to More Food Monday. (Wellllll, Tuesday.) On today's menu are... Pancakes!! Let's get started! First step, put togethe...


0 comments:
Post a Comment